When it comes to your motorcycle helmet you really want to ensure that it fits correctly, or it’s not going to protect you the way that it should.
And that protection is vital to your safety should you ever get into an accident or collision. Did you know that the DOT safety rating also becomes completely invalid if your helmet isn’t sized right?
If you wear a helmet that’s too big, and there’s a gap in it, that basically means that should you experience an impact you’re going to get thunked pretty hard on the head by your own helmet, which is pretty much the exact opposite of what it should be doing.
On the other hand, if you wear a helmet that is too small for your head and there’s little to no gap at all, you’re going to find riding a pretty painful experience as I can guarantee you it will be really, really uncomfortable.
And there are enough things to concentrate on when driving without getting distracted by a hurting helmet, if you’re not paying enough attention to the roads it could even cause a crash or collision. So it’s important to ensure you’ve got that perfect fit.
Now, picking out the right helmet can be quite a daunting task, after all, it’s a piece of equipment that could potentially save your life – it is important to get it right.
However, there’s no need to stress, throughout this article, we’ll go over all the things you’ll need to do to ensure you’ve got the perfect match!

1. Choose Your Helmet Style
So, the very first thing that you’ll need to do is pick the helmet style that you would like. The market is plenty saturated with so many different styles nowadays it can be hard to know where to start.
Also check: Best Motorcycle Helmets Under $100
Generally, there are 5 basic helmet types to choose from:
Open Face Helmet
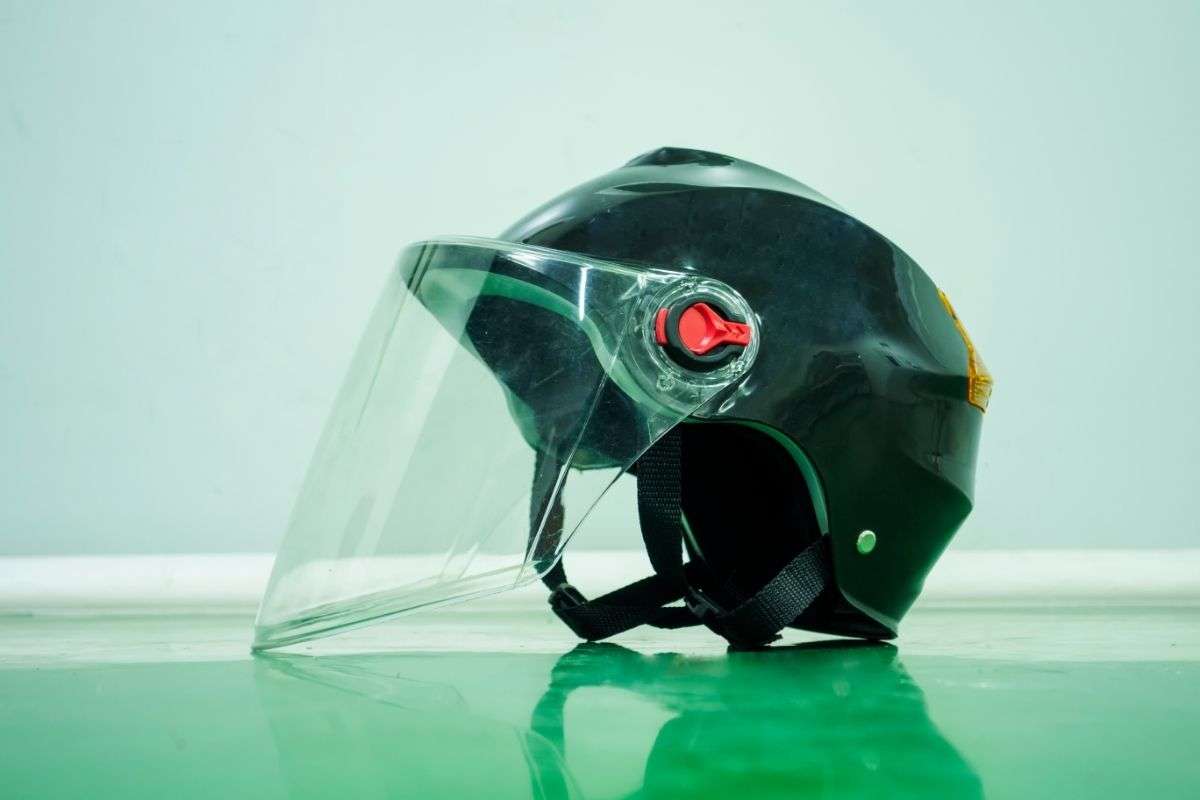
This option will be the least restrictive of the 5, but that does also mean that it offers the least protection.
As the name suggests, these helmets tend not to cover your face and so are really just protecting your skull. You’ll often see riders of cruisers, retros, and classic bikes opting for this style.
Full Face Helmet
This is the opposite of the above style. It will shield the entirety of a rider’s face. They are the least ventilated of the options but this style does offer the most protection against the elements.
If you want to ride around a track this should be your style of choice, many street bike riders also go for this style.
Modular Helmet
This helmet is a mix of the two helmets above. It can act as a full-face helmet but a release button also allows it to transform into an open-face helmet.
You shouldn’t use the open face feature while riding however, it’s more of a pop-it-open-while-you-eat kind of feature. Touring and commuting riders often choose this design.
ADV/Adventure Helmet
These helmets are perfect for those who enjoy riding on and off-road. It comes with a face shield and is street-legal for the roads while also having features for off-road driving such as extra ventilation and compatibility for goggles.
Dirt Bike Helmet
Dirt bike helmets are not suitable for driving on the streets and are exclusive to off-roading. They offer loads of airflow and are intended to be worn with goggles that you’ll need to purchase separately.
2. Determine You Head Shape And Size
Once you’ve chosen your helmet style, you’ll need to figure out what your head shape and size are. Note: you’ll need an extra person to help you.
Head Shape
There are three main head shapes for helmets: long oval, intermediate oval, or round oval.
- Make sure your hair is as flat as possible
- Observe your head shape: if it’s really round your round oval, if it’s thin and long it’s long oval, and if it’s somewhere in between the two it’s intermediate oval.
Head Size
- Measure the circumference of your head with a measuring tape
- Make sure the tape sits just above the eyebrows
- Compare the measurements with a helmet size chart
3. Try On The Helmet
Once you know your shape and size you can go shopping! Always try your helmet on before you purchase one. Don’t worry if it’s uncomfortable at first to get over your head, it’s meant to be.
People often think a helmet doesn’t work because it hurts or moves their ears, but this is normal, simply adjust them once the helmet is in place.
The main focus should be on how the helmet fits in place on your head, you’ll need to check it fits properly.
4. Check It Fits Properly
So what exactly are you looking for to check that it fits? Well firstly see if it’s comfortable, if it is causing you severe discomfort, take it off and try either a different helmet or a different size. Here are a few things that show that you’re wearing a helmet that fits correctly:
- Chipmunk Cheeks – If you’re wearing your helmet correctly then it should cushion your cheeks and push them up to resemble a chipmunk’s chubby cheeks.
- Cheek Movement NOT Helmet Movement – Once you’ve got your helmet on give it a little wiggle via the chin bar. Your helmet shouldn’t move when you do this.
- No Sliding – If your helmet keeps sliding then you may want to try the size down.
- It’s Not Super Tight – If the helmet is really tight then you may want to go up a size.
5. Keep It On For About 30 Minutes
If you can, leave your helmet on for about 30 minutes and be aware of any pressure. If you start to get to a point where you need to take it off because it’s too painful then it’s not the helmet for you.
If you have big red marks on your head that’s another sign it doesn’t fit right. Remember if it’s really painful after 30 minutes, imagine what it’ll be like after a couple of hours of riding!
However, if it doesn’t cause any pain, you’ve got the perfect fitting helmet, and it’s time to finally get riding!

