

A motorcycle is a vehicle that offers freedom, and there’s nothing that comes close to the experience of rumbling down the highway on a bike. However, they’re also fairly expensive investments, and you don’t want to get attached to your bike just to start experiencing annoying problems a few years into ownership.
Luckily, preventing that sort of disheartening experience is pretty easy; it just requires a bit of regular maintenance.
Simple maintenance tasks that can be done in the comfort of your garage are all it takes to keep your cherished ride in tip-top shape. Also, it should mean minimal visits to the shop or roadside issues.
Today, we’ll take a comprehensive look at the maintenance of motorcycle parts, bodies, and gear to keep you on the road and free as much as possible.
Let’s get started.
Maintaining the Body
The body of your motorcycle can be maintained in a similar manner to how you’d maintain a car. It largely comes down to keeping it clean and protected to avoid being damaged by elements. However, it’s a little more important to be consistent with this, due to the entirety of the bike being exposed.
With a car, a little rust patch on the door will not affect your riding experience, besides looking a bit unseemly. With a motorcycle, body damage can pose risks to the rider, spread to more functional parts of the bike, and be more of a pain.
So, here’s how to maintain the body.
- Plug: Always plug your exhaust with a rag or towel to prevent water from entering it.
- Rinse: Spray your bike with a hose, and pay extra attention to spots with caked-on dirt to ensure they get removed. Note: Only use a low power setting. You don’t want to spray the bike too hard. That alone can cause a whole host of problems.
- Soap: With some gentle soap, scrub the bike carefully with a rag. Make sure to use a soft bristle brush on mechanical parts, such as the chain. Don’t scrub too hard, or you may damage the paint on your bike.
- Rinse: Again, use a low-power setting on your hose to spray the bike clean.
- Dry: Using a microfiber cloth and compressed air, dry your bike immediately to avoid streaks.
- Coat: Now, simply apply a thin layer of automotive wax to prevent the buildup of dirt and damage to the paint or exposed metal.
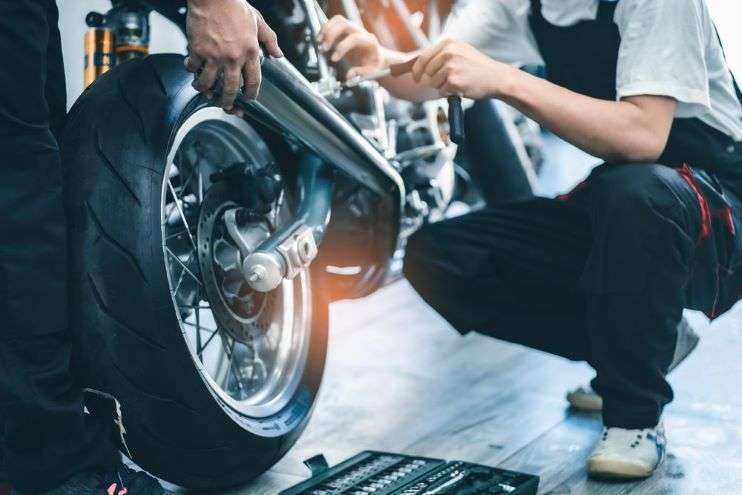
Maintenance of Motorcycle Parts
Maintenance of the motorcycle’s body is fairly simple, and it’s probably something you already do semi-regularly. However, there are more tasks you need to take seriously to prevent breakdowns or premature issues with your bike.
We’ll go over each part you need to focus on and how to maintain it. Don’t worry. This is all stuff you can do on your own at home. There’s no need to pay a mechanic to check up on these crucial parts.
Maintenance of Motorcycle Tires:
Your tires are what keep you stuck to the road, instead of sliding all over the place and having a disastrous wreck. So, we’ll cover their maintenance first.
To start, make sure your tires are clean and free of debris between the treads. This should be done regularly during the body maintenance phase anyway. So, if you notice they’re a bit too dirty for you to trust their grip on the ground, go ahead and follow our body maintenance guide.
Next, you need to ensure they’re at the correct pressure level as recommended by the tire manufacturer. This should be labeled on the tire, and you can use a standard pressure gauge to check them. If they’re low, add a bit of air and test again. Just make sure you do this before riding the bike. The heat generated through friction can temporarily increase the tire pressure and give a false reading.
Finally, make sure your treads are in good condition. Most motorcycle tires made in the last few years have indicators layered beneath the treads, and if you see the rubber stripes, it means your tires need replaced immediately.
If your tires don’t have wear indicators, place a penny between the treads. If you see Abe’s head over the treads, it’s a good sign you need to replace the tires.
Maintenance of Motorcycle Batteries:
The motorcycle battery is the next thing to take care of. It’s what starts your motorcycle, and it powers all the onboard electrical systems. Luckily, it’s not a difficult or expensive thing to take care of, and it can last a long time if you follow these tips.
First, keep it clean. Your battery will naturally corrode at the terminals, and there’s nothing you can do to prevent that. However, it’s important to clean that corrosion off, since it prevents your battery from getting a good connection with your motorcycle’s electrical system; leading to inefficient energy dispersal and premature replacement.
To do this, simply use baking soda and water on a toothbrush, and scrub the terminals clean. Pro tip: A light coating of petroleum jelly will help slow down the buildup of corrosion and stop you from doing this as often.
However, you also need to charge your battery. If you drive every day, your alternator will do this for you, and you only need to check the voltage every few months. If you don’t use your bike often, you might want to invest in a trickle charger.
A trickle charger keeps the battery supplied with a low current of electricity while you’re not using it. This prevents it from wearing out faster than it should and losing its charge. Luckily, trickle chargers aren’t expensive. So, if you only ride on the weekends or when you have a day off work, it’s best to pick one up.
Maintenance of Motorcycle Oil:
Besides fuel, your motorcycle’s oil is its most important fluid. It lubricates the engine to decrease friction and heat buildup. Without it, you’ll end up paying a lot to replace a blown engine.
Check your motorcycle’s oil levels around once a month, and ensure it meets the marked spot on your oil container’s dipstick. It will be labeled to tell you if you need to add more or if you have too much in it.
Changing your oil is also important. Old oil builds sediment, and this can get into your engine. You can change your oil at home, or you can pay around $30 to have it changed professionally.
Doing it yourself isn’t too difficult. So, here are the steps to do it.
- Unplug the oil pan’s plug.
- Allow the oil to drain into an approved container.
- Change the oil filter.
- Re-plug the oil pan.
- Fill with clean oil.
- Dispose of used oil according to local environmental laws.
The whole job takes about fifteen minutes once you get used to it, and you can do it for about ten bucks. This should be done once a year on average, but if you drive a lot, change it every 3000-5000 miles.
Maintenance of Motorcycle Chains:
This is a two-part process. The first, which is the cleaning, is simple enough to do on your own. The second, replacing worn-out chains, should only be done by a professional.
Cleaning your chain is easy. You can use either kerosene or a commercial motorcycle chain cleaner. Simply wipe it on the chain until all the grime and gunk from the road is off of it, and then use a motorcycle chain lubricant to re-lube your chain. It takes about ten minutes to do it properly, and you can get back on the road when it’s dry. As a bonus tip, use a toothbrush to get the gunk out from between the sprockets. It makes a huge difference.
Unfortunately, replacing a worn-out chain is much more complicated. Refer to your user manual to determine when your chain needs to be replaced, and take it to a professional to have the job done. It’s fairly dangerous to do it yourself, unless you already know what you’re doing. In that case, you probably wouldn’t be reading this.
Maintenance of Motorcycle Air Filter:
Your air filter is key to getting the best performance and lifespan out of your engine. It prevents all the junk kicked up from the road getting into your engine and blocking its airflow. For this task, you’ll either have to replace a paper filter or clean and reinstall a cotton filter.
How often you have to do this is determined by the make and model of your bike. It can be an easy or difficult task depending on how your bike is put together. In any scenario, you usually have to remove the gas tank. So, familiarize yourself with the process and get some guidance from a more experienced friend on the first couple of occasions.
Everything else involved with this step will be in your bike’s user manual. However, the less you ride your bike, the fewer times you’ll need to do this.
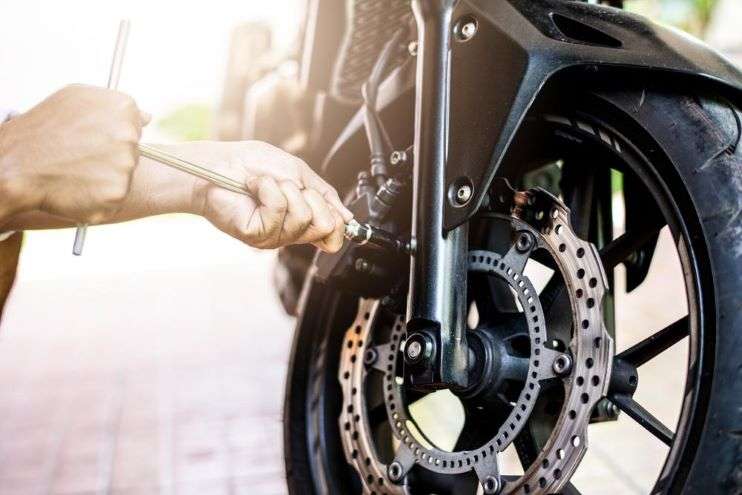
Maintenance of Motorcycle Brakes:
This is where the DIY stuff tends to stop for most motorcycle owners. Your brakes are clearly a life-saving feature of your motorcycle. Unless you know what you’re doing, you don’t want to go bleeding those hydraulic lines or replacing the brake pads on your own. It is worth paying a mechanic for this quick and simple maintenance task.
However, that doesn’t mean you cannot check your brakes to see if they need worked on.
First, the simplest thing to check is whether they’re worn out. Your brake pads are designed with deep, pronounced grooves in them specifically to warn you about wear and tear. As you use your brakes, those grooves get worn down bit by bit. Eventually, they’ll be entirely gone.
At this point, it’s unsafe to ride your bike, and you need to get them replaced immediately. Instead, we recommend frequently looking at the grooves and replacing your brake pads when they start to get a bit shallow. This can prevent life-threatening accidents.
Next, you want to check for air in your hydraulic lines. This isn’t something you need to check specifically. Instead, you’ll notice it while you’re riding. If there is air in the lines, your brakes will feel squishy. Don’t try to bleed them yourself. You can mess them up and not even know it until it’s too late.
Maintenance of Motorcycle Gear
We’ve gone over maintaining your actual motorcycle, and that’s probably the part you’re most concerned about. However, you also need to maintain your riding gear to ensure you have a comfortable and safe experience.
Here are the things you need to look at with your gear.
Always Have a Clean Helmet:
Cleaning your motorcycle helmet doesn’t just make you look better on your bike. It also helps ensure you have clear vision and your visor isn’t caked in dirt or residue.
Gently scrubbing your helmet with a non-harsh soap and water is more than enough to clean it properly. However, you need to rinse it immediately to prevent streaking, and dry it with a microfiber rag.
Also, make sure you do the same thing to the inner pads and straps. You sweat a lot on your bike, and that builds up in the padding of your helmet. While it may not prevent you from seeing properly or affect its impact absorption, it will produce an unpleasant odor.
Checking for Damage and Cleaning:
Moving on to your boots, jacket, pants, and gloves. With this, the maintenance process is easier. Just give each item a once-over to ensure they don’t have tears or other signs of major wear, and gently wash them according to the manufacturer’s instructions. If your gear has rips, replace it to avoid getting it caught on something or leaving you exposed while you ride.
Headset Testing:
Your headset is your link to the rest of the world. You can’t take one hand off your handlebars, remove your helmet, and chit-chat with your friends while you ride. If something goes wrong, or you need directions somewhere, you need to make sure your headset is functioning. It would also be good to check the motorcycle GPS tracker works before driving regularly.
To do this, give it a little test before you ride. Do this every time you get on your bike.
Check Out More Riding Tips
Whether you’re a new motorcycle owner, or you’ve been tearing up the highways for decades, there’s always something new to learn about your bike.
If you want to stay up to date on the latest the biking world has to offer, check out the other comprehensive guides and resources we offer here at The Motor Biker.