

Unless you’re already an experienced mechanic, performing maintenance or repairs on your motorcycle can be daunting. It’s a relatively large investment. Your life often depends on it running correctly while you’re on it. You probably don’t want to mess anything up out of fear of damaging it or potentially hurting yourself on your next ride.
However, it’s not practical to take it to the shop for every tiny thing (for example, to change a motorcycle tire). If you do that, your motorcycle maintenance costs will skyrocket from labor charges alone.
While it’s not a good idea for an inexperienced rider to try breaking down their engine or bleeding their hydraulic brakes, there are some fundamental things you and every other rider should know how to do.
Knowing how to change a motorcycle tire is the first essential maintenance and repair thing. It’s a little more complex than changing a bicycle tire. However, it’s still extremely simple, can be done properly without much equipment or knowledge, and will save you a lot of money on your maintenance costs.
The Basics of Motorcycle Tires: When and Why to Change Them
Your motorcycle tires are extremely easy to maintain, but they’re also one of the most critical parts. After all, they separate you from the road when you’re flying at 60MPH or more, and you don’t want to find out what happens when something suddenly goes wrong. Even less serious issues such as having a flat before your work commute are annoying to deal with.
Not maintaining your tires properly is just asking for problems, whether they’re life-threatening or just minor inconveniences, and the issues tend to pop up at the worst possible times.
Also check: Motorcycle Camping: Ultimate Tips | Get Ready for the Adventure
Luckily, modern tires are easier to safely maintain thanks to innovative features that help warn you of extreme wear, better manufacturing materials, and more reliable build quality overall.
Notably, one of these features will tell you exactly when to change your motorcycle’s tires with no guesswork or oddball tricks. Manufacturers mold the tires with distinguishable rubber strips between the tires’ treads. Those strips begin to show through the treads, warning you that your tires are starting to take on considerable wear. Eventually, those strips will start to fade and disappear, and it’s at that time that you have to replace your motorcycle tires. This means that you have very little rubber left, and if you drive much longer, you can suffer a blowout. That’s dangerous enough in a car, let alone when you’re riding a completely open motorcycle with no safety device protecting you.
Other Ways to Know When You Should Change Your Motorcycle Tires
Of course, not every tire is equipped with wear-warning strips. This is often the case with older bikes, cheap tires, and certain manufacturers. You’re not out of luck if your bike doesn’t have the wear-warning strips. You just have to put in a little more work to determine the right time for a replacement tire.
Here, we’ll go over all the times you might need to change a motorcycle tire, whether wear-warning strips are visible or not.
Punctures:
It’s just a fact of life that you will eventually run over something that punctures your motorcycle tire. You can’t avoid everything on the road, from nails outside a local construction zone to glass from someone shattering a bottle in the middle of the road.
When this happens, it’s likely to cause a slow leak of air in most cases, and you might not even notice it until a few hours have gone by and you’re suddenly watching your tire contort.
In that case, there are several patch options such as aerosol can patches, patch kits, and plugs you can use temporarily. Still, you want to change the tire as soon as possible. It’s not like a car where getting a flat is a little scary, and you pull over. If the patch goes out while you’re riding, you can spin out, get thrown, or get hurt.
If you’ve got a tire patched recently, look forward to replacing it as soon as possible.
Tread Wear:
Not every tire has wear-warning strips. If yours doesn’t, you have to check the treads manually. This is pretty easy to do with an old trick of the biker world. You just need a penny and your bike to do it. Stick the penny into the treads. If you can see Abe Lincoln’s head clearly over the treads, you need to start looking at replacing the tire. This isn’t as accurate as built-in warnings, but it’s a good indicator.
Try to perform the penny test every few months, and give it a go if you notice any heavy wear on your tires.
Bulging or Other Deformations:
Your tires should never be bulging or otherwise deformed. If they are, there’s a good chance there’s internal damage to the tire, and you need to replace it immediately.
How to Change a Motorcycle Tire: Step-By-Step Instructions
If your tire exhibits any of the issues we detailed above, it’s time to change it. However, it’s nothing that should worry you too much. Doing so should only take about fifteen minutes once you’ve had a bit of practice. That brief period of downtime will save you a lot of headaches and maybe even your life in the long run.
What You’ll Need:
- Motorcycle jack or stands: You can use either of these elevation methods, but you must make sure your bike is stable once fully elevated.
- Bead breaker/tire lever
- New tire
- Air compressor
- Basic socket or wrench set
- Two tire irons
#1 Removing the Old Tire:
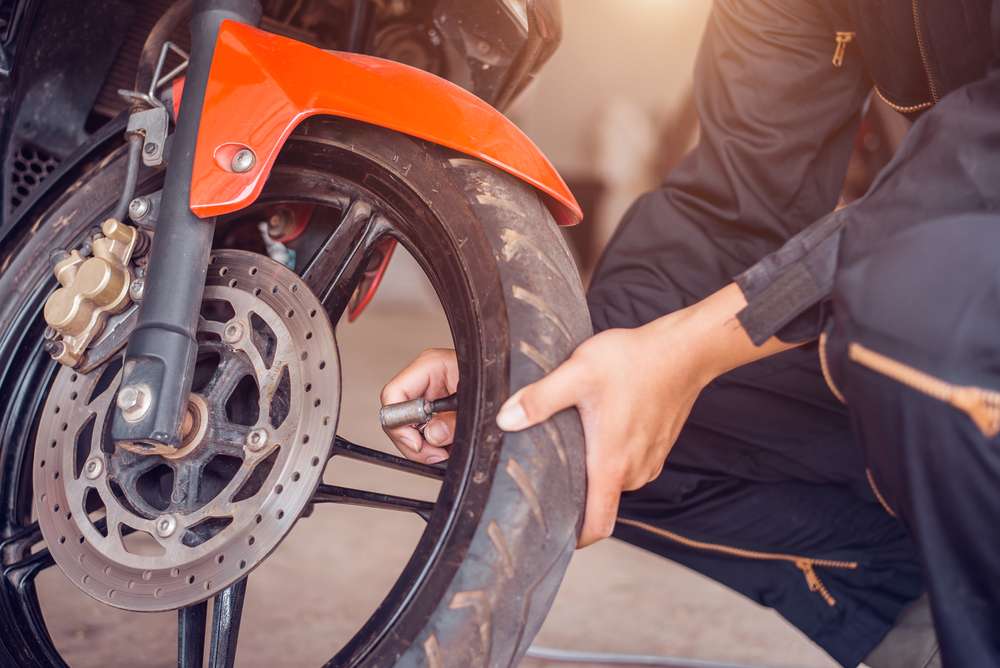
Removing the tire is pretty much exactly like removing a bicycle tire. You’re going to want to get both tires off of the ground. To do this, use a proper motorcycle jack to raise the bike using its chassis, or you can use a ride-on bike stand. Whichever method you use, make sure you do this on flat, level ground. Also, ensure the bike is extremely stable; otherwise, you might topple your bike while removing the tire.
Grab your wrench or socket set once you have the bike raised and stable. The size of the nuts holding your tires on may vary from bike to bike, but any standard socket wrench set should be able to accommodate these standard nuts.
You’ll want to check where the forks attach to the tire’s rim for the front tire. There will be one nut on each side. The nuts will be on either side of the chain sprocket for the back tire and the drivetrain for the back tire.
For either tire, simply turn the nuts on both sides to the left until they can be removed by hand. Remove the nuts, and get ready to support your tire to prevent it from just dead dropping to the ground. You will have to displace the chain from the sprocket and slip the tire axle around the chain with the back tire.
#2 Deflate the Tire:
Once you have the tire removed, you must fully deflate the tire before working on it. This is pretty easy. Remove the valve cap, depress the center pin, and wait until the air has entirely escaped. Once it’s nearly flat, you can help push out any stubborn air pockets with a bit of pressure from your knee.
Make sure your tire is fully deflated, or you’ll get one fun –and dangerous- surprise when you break the bead on the next step.
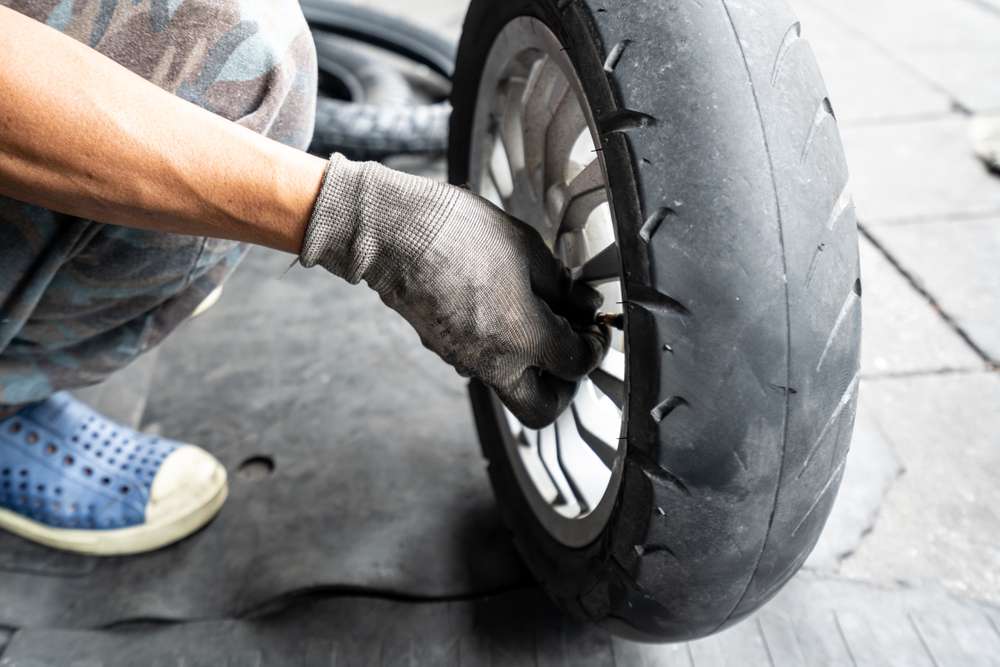
#3 Break the Bead and Remove the Tire:
Now, it’s time to remove the tire from the rim. There are a couple of ways to do this, but we will explain the proper way by using a bead breaker or tire tool. It’s easier, requires less physical strength, and only costs a few bucks for a motorcycle tire tool. There’s no reason to mess around with odd zip-tie tricks and other oddball methods that are much harder to pull off properly.
First, ensure you fully deflated the tire in the previous step. Now, place the tip of the bead breaker where the rim meets the rubber of your tire and slip the tire tool between the two surfaces. It should feel like a suction cup being released. Work the tool between the two surfaces to separate the tire around the entire rim, flip the tire, and do the same to the other side. Now, you should be able to use a bit of physical strength, or maybe use the tire tool for a bit of leverage, to slip the tire off of the rim.
When breaking the bead, you’ll make your life much easier by spraying a solution of Dawn dish soap and water on the sealed area before prying.
#4 Setting the New Tire:
Setting your new tire onto your rim is a little more complex than removing it. First, slip one tire wall over your rim, and push it into place. You’ll notice that your tire’s other wall just kind of hangs over the outside of the rim. Here’s where the hard work starts.
Before you start popping the tire all the way, take this time to rotate the tire and slip the valve stem into place. It might move a little bit, but at least it will be close to the final placement.
Also, check: What’s the Best Place to Sell Motorcycle and Get the Best Deal?
Take two tire irons and begin to pry the tire wall over the rim in small sections. You’re only going to get a couple of inches of the wall over the rim at a time. So, just take your time. The last portion is usually the hardest since it has the most resistance, and this is where the second tire iron comes into play. If you can wedge it into a part that is already set, it’ll help give you the leverage you need to pop the last portion over the rim.
With both sides over the rim, make sure your valve stem is coming out of the rim’s valve port. If you lined this up earlier, it might already be in place. If it moved a bit during the tire installation, simply rotate the tire on the rim. You should only have to turn it slightly if you lined it up earlier.
#5 Setting the Bead:
Alright, you’re almost ready to start riding. To finish replacing the tire, you just need to use an air compressor to air up the tire and reset the “bead” that you broke earlier. This will happen automatically as the tire’s air pressure goes up. So, just fill it to the manufacturer’s recommended PSI level. You’ll need a tire gauge for this unless your compressor has a gauge built-in.
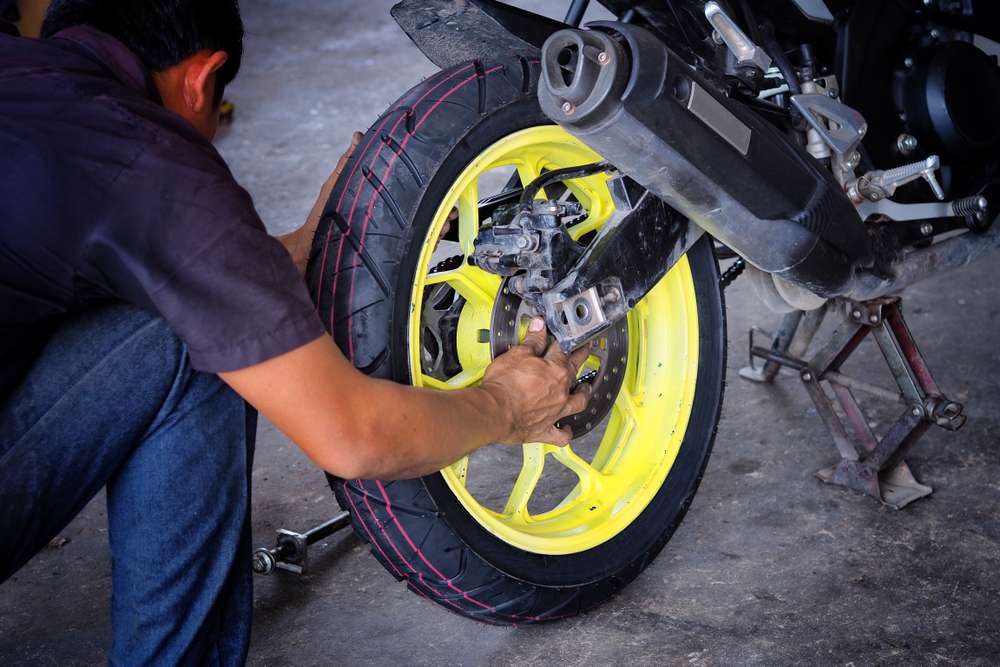
#6 Reattaching the Tire:
Finally, the last step of this simple “change a motorcycle tire” process. So, you just need to put the tire back on. For the front, this is super simple. However, it would help if you had someone help you hold the tire up while you wrench. If you do, then it’s even easier. Place the tire back between the forks, and put both nuts on until they’re tightened by hand. Now, take your wrench or socket set and begin tightening the nuts. It’s best to alternate between nuts every couple of turns to prevent one side from being tighter than the other and throwing off your tire alignment.
For the rear tire, it’s the same process. Make sure you slip the axle back through the chain and align the chain around the sprocket before you reattach the tire.
Keep in mind that your nuts need to be tightened securely. You don’t want your tire flying off while you’re riding. Using hand tools is fine if you have the strength to tighten the bolts properly, but a powered wrench can make it a lot faster and easier. Just don’t strip the nuts. They’re a pain to get back off once they’re stripped.
Get on the Road with The Motor Biker
Now, you know how to change a motorcycle tire without having to take it to a shop and forking out a load of money for labor fees. This is really simple, and it only requires some basic tools you probably already have.
If you want more information on maintaining your bike, check out more guides and resources from TheMotorBiker.
