
It may seem like a tedious task, but cleaning your motorcycle’s carburetor is one of the tasks that have to be done on a regular basis in order to ensure that your motorcycle remains well maintained and functions as it should.
So whilst it may be tempting to cut corners with the way you clean your motorcycle carburetor, such as not removing it, this can ultimately lead to an improper cleaning job and further complications with the carburetor’s ability to work.
This guide will help you learn how to clean a carburetor and some of the things to look out for throughout the cleaning process.
Why Clean The Carburetor?
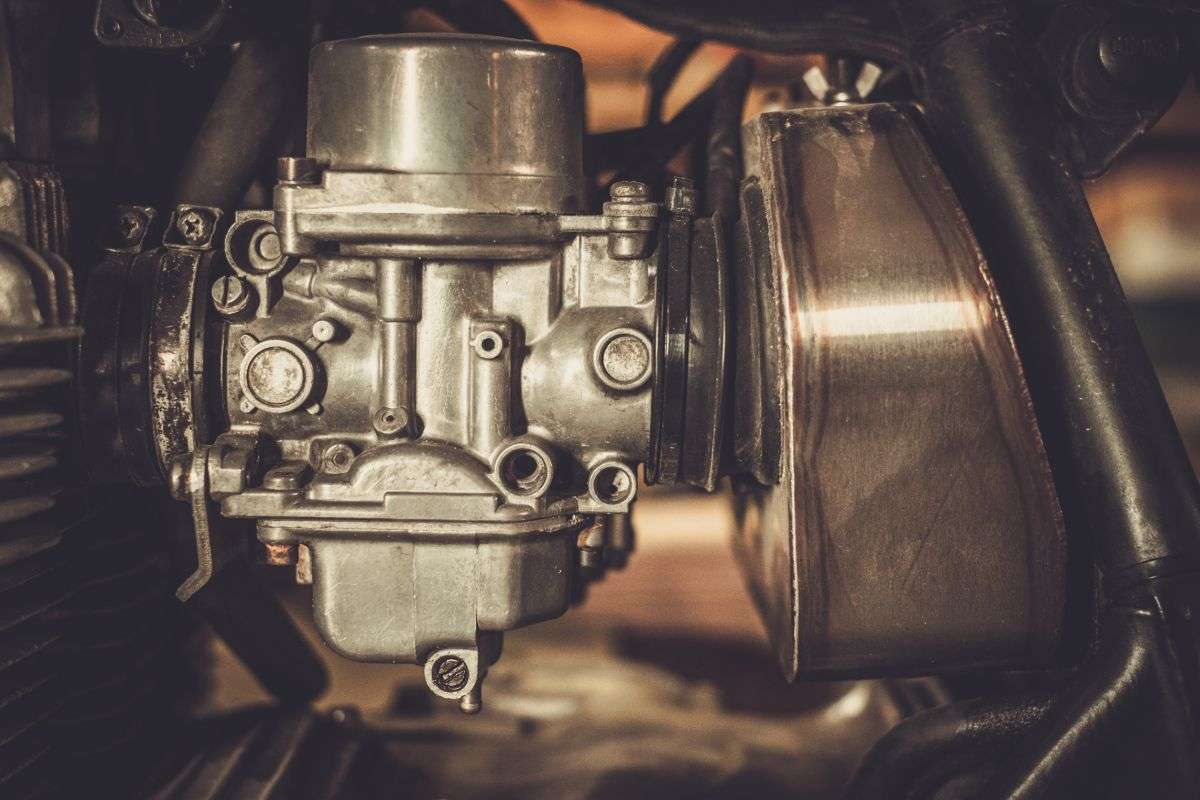
Your motorcycle’s carburetor is one of the most important parts of the bike, it helps to create the mix of gasoline and air that will ultimately help to fuel your motorcycle.
As such, cleaning it is important.
By cleaning your carburetor regularly, you can help to prevent the spread of corrosion as well as ensuring that the engine of the motorcycle runs smoothly.
There are a few different ways that a carburetor can become dirty.
For example, the gas in the carburetor can dry out due to the air intake, which can lead to the walls of the carburetor being coated in a buildup of sticky substances.
Additionally, if you use your bike infrequently, the gasoline inside the carburetor can thicken, which can have an effect on the way some of the small parts inside the carburetor move and function.
Other than the carburetor being visibly dirty, one of the best ways to tell if your carburetor is due a clean is whether it gives off a distinct smell.
Typically, this smell will be of turpentine (which smells similar to a pine tree), or just a generally bad chemical smell, but it won’t smell of gasoline.
What Cleaner To Use?
There are a wide range of cleaners on the market, and it can often be difficult to discern which one would be best to use on your motorcycle’s carburetor.
For the best results, you should try to use a non-corrosive cleaner, as this will ensure that you don’t damage any of the rubber or plastic parts of the carburetor.
You should also avoid using vinegar too, as the acetic acid that vinegar contains can actually make the metal more susceptible to corrosion and rust.
Similarly, don’t use any form of bleach either, as this will lead to corrosion of the metal as well as damage and degrade the rubber and plastic.
How to Clean a Carburetor in 8 Steps
The process of cleaning a carburetor is a multi-step process and is one that should be given plenty of time to complete to ensure that the carburetor is cleaned properly and thoroughly.
Just follow these simple steps and your carburetor will be cleaned in no time at all.
So, let’s see how to clean a carburetor properly.
Step 1: Diluting The Cleaner
Typically when using a professional cleaning product, you’ll be required to dilute it with water.
So, check the instructions of the cleaner that you’re using and dilute it accordingly.
Step 2: Clean The Air Filter
Prior to cleaning your carburetor, you should also make sure that your motorcycle’s air filter has been cleaned properly and is clear of any blockages or dirt.
To clear this, turn off the fuel supply and disconnect the spark plug wire, this will then allow you to remove both the housing and the wing nut which attaches the filter, and you can then remove the outer element.
To clean, use a can of compressed air to help remove any dirt or debris.
Step 3: Removing The Carburetor
First, remove linkage and hoses by using a screwdriver and pliers, where applicable.
Next, remove the cover and clamps that help to hold the carburetor in place, and then remove the clamp that connects the carburetor to the fuel line.
You should then be able to remove the carburetor and use the can of compressed air to help clear any dirt from the outer casing first.
Step 4: Removing The Carburetor Float
With the carburetor removed, you should then be able to remove the bolt which holds the carburetor float (the bowl-shaped container) in place, carefully removing this whilst ensuring that you don’t spill any of the gasoline that still remains inside the carburetor float.
You can then remove the pin on which the float pivots, and pull the float out of its casing.
Step 5: Removing Other Components
With the float removed, you should remove all of the other removable components of your motorcycle’s carburetor and place them in a safe space, keeping note of which component is which, and where it originally went inside the carburetor.
Step 6: Cleaning The Components
With everything removed, you’ll want to get a large bowl or tub and fill it with your diluted cleaning solution, and then place all of the components into the solution.
Allow them all to soak thoroughly before you begin cleaning. To clean the metal parts, use a brass brush to help clear the dirt.
Whereas for the plastic parts, you should instead use a nylon brush, with stiff bristles.
You need to be incredibly thorough with this cleaning process and ensure that every aspect of each component is cleaned well, including the smaller parts too.
Step 7: Rinsing And Drying
Once cleaned, remove the components from the solution and rinse them in clean water before leaving them to dry completely.
Step 8: Reassembly
Once dry, reassemble the carburetor and re-mount it back onto the engine, linking all of the wires, hoses and clamps as they originally were.
Conclusion
Regular motorcycle maintenance is crucial if you want to ride your bike smoothly and not have to repair it often.
As you can see in this guide on how to clean a carburetor, it is an easy process once you’re comfortable with all the steps, and it can help to prolong your motorcycle’s life too!
