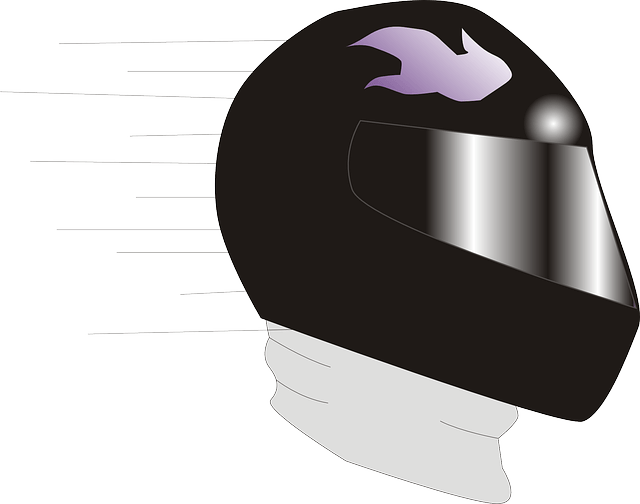
Any motorcycle enthusiast understands the importance of owning a helmet. The reason is that everyone wants his brains and other parts of the head to remain safe from injuries in case of an accident. But, have you ever thought of designing your helmet? We all have wild imaginations and everyone can come up with a unique and excellent helmet. If you want to come up with your helmet and design it with design and color that matches your taste, we have listed down a simple guide on how to draw a motorcycle helmet for you. All you need is a pencil, sharpener, rubber, paper, and your hands. Also, do not forget to get some markers, colored pencils, or crayons as well.
Table could not be displayed.The following table shows the easiest and most reliable sources to get those drawing stuff. At any time, before or after reading the drawing process below, you may visit these sources.
Reference and manual drawing
To understand various shapes of the helmet so that you can tailor it to your needs, you need to get a reference. You can go to Google images to get various helmets and choose the one that is close to your taste. Take your pen and paper and start sketching the shape of your favorite helmet.
Draw a circle to start
To start, sketch a circle to help you in coming up with the shape of your helmet. Make a long curved line to give your motorcycle helmet a clear shape. Make sure the line winds in and away from the circle forming a shape. With a rubber, erase the guidelines that the original circle left. Make sure you get the basic shape of the helmet and you don’t have to be so strict with the line.
Draw the rubber of the helmet
On the lower part of the helmet, draw its rubber. Make sure that the area extends to the outer side of the helmet. Circle a rectangle on the front side of the helmet above its opening. After that, make two curved lines to come up with a strip that passes through the front and the top part of the helmet.
Making a face mask
Make different curved lines with different lengths to come up with a face mask. Use these sets of lines to circle part of the face mask on the upper side of the opening. Take note of the circular area where the mask attaches to the helmet, as well as the wires from the face mask that extends to the opening.
Using a set of two curved lines, make the wires of the face mask and extend the lines to reach the end of the helmet. Proceed to enclose the pairs of wires so that some of the wire forms a rectangular shape. Other wires will appear as if they are ending as they curve away from your view. Don’t stop drawing the face mask on the further side of your bike helmet. Just like the other side, use two sets of parallel lines to make every wire.
Drawing the inner padding
With a pen, it is now time to draw the inner padding. After drawing the inner padding, make sure you add a ventilation system on the helmet as you draw the other side so that the helmet may appear as if it has three dimensions. After that, draw some holes in that shape to make the ventilation.
Creating the far side of the helmet
With the use of curved lines, draw the far side of your helmet. Also, remember to add more details on the part where the face mask attaches to the helmet. Make sure you erase the guidelines where necessary.
Design your helmet now
Now that you already have a helmet, it is time to color it with your favorite color. With the use of colored pencils, crayons, or markers, you can decorate the helmet as you wish to come up with unique gear.
There you have it! Drawing a motorcycle is not as hard as some people think. As long as you follow the above steps, you will surely create an unique and beautiful helmet.

