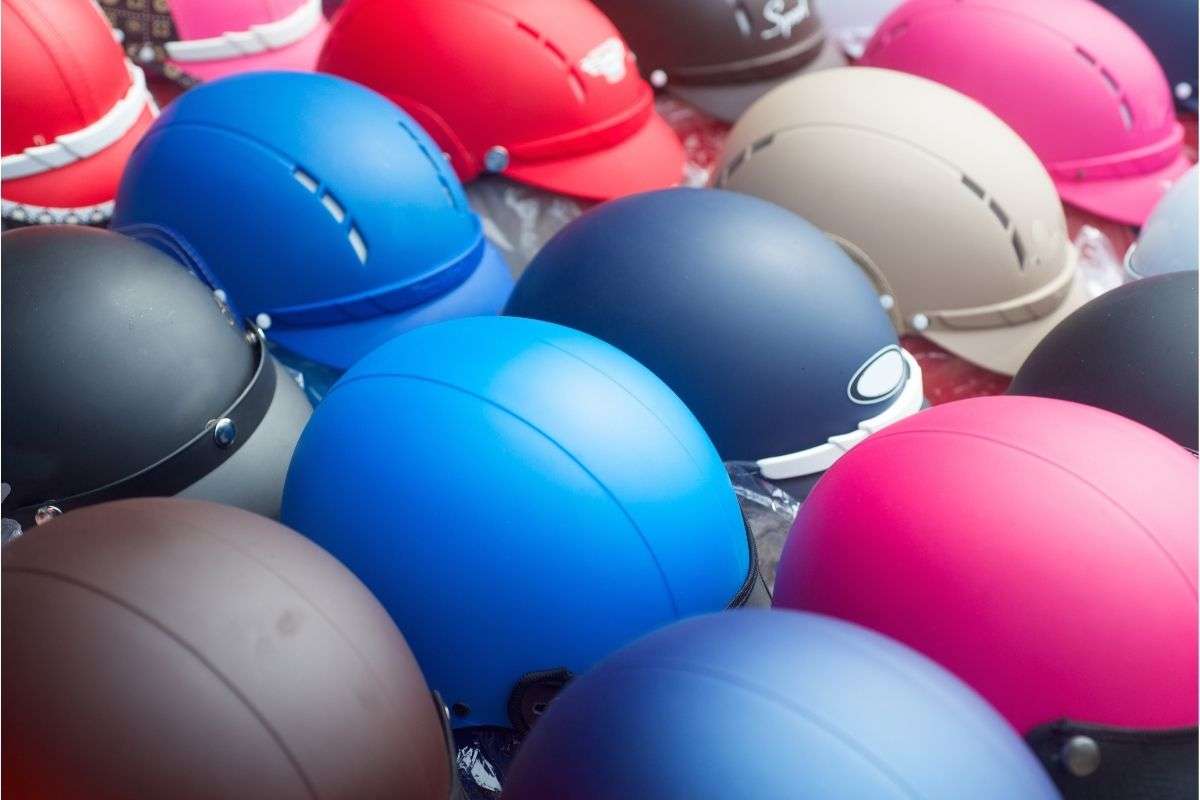
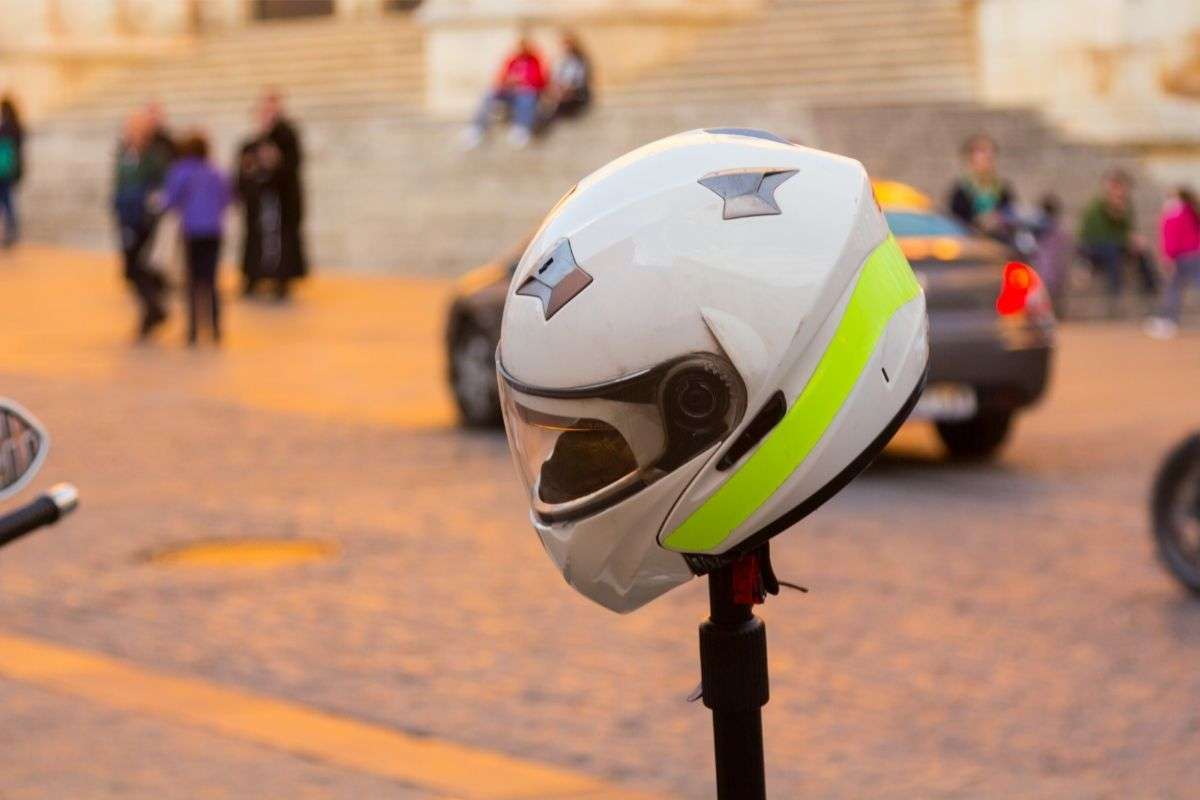
You won’t believe how often I’ll hear a beginner rider say that they aren’t going to wear their helmet because it’s ‘ugly’ or ‘doesn’t look good.’
Now the latter part of that sentence I do agree with, they aren’t the best looking things in the world, however, I cannot stress enough how ridiculous the rest of that sentence is.
Good looking or not, a helmet is an amazing piece of safety equipment that very well may save your life so you really should be wearing one. The reasoning behind the lack of designs for motorcycle helmets is that the only focus is on safety.
So instead of ditching your ugly helmet and putting your life at risk, let’s try something new – let’s customize that ugly helmet into something so cool you’ll never want to take it off!
Here’s how to paint a motorcycle helmet in 2 different ways!
Option 1: The Easy Way
What You’ll Need
- Paint spray or airbrush gun
- Your favorite color of water paints
- Something to cover the floor (old sheets or newspaper)
- Something to protect your clothes (you might get messy)
- A sticking-plaster
- Markers and paintbrushes
- Stencils (if you need them)
Step-By-Step Guide
1. Grab floor protectors (let’s say it’s an old sheet) and pop them on the floor. Then place your helmet in the center of the sheet. Pop on your protective clothing – it’s about to start getting messy.
2.Next, you’ll want to get your sticking-plaster and apply it to wherever you do not want there to be paint on your helmet.
3.Spray the helmet using your airbrush gun, and wait approximately 20 minutes for the paint to dry.
4.Once the paint has dried, you can start using markers to draw whatever design you’d like on your helmet.
5.This is where you can then get really creative. Once you’ve got an outline/sketch on your helmet, you can grab your water paints and your paintbrush and let your artistic side flow. You do need to be really careful here though as it can be quite easy to make a mistake.
6.Wait patiently for the paint to dry – you’ll need to leave it for around 2 to 3 hours.
7.Once the paint is completely dry, you’ll then need to spray over the helmet with transparent paint to give it that shiny smooth finish. Then wait another 20 minutes for this to dry.
8.All that’s left to do now is peel away that sticking-plaster, and voila! You have a good-looking helmet personalized by yourself! No excuse for not wearing one now!

Option 2: The Advanced Option
What You’ll Need
- Acrylic paint
- A pencil & marker
- A paintbrush
Step-By-Step Guide
1.First, you’ll need to create the color foundation. In this instance, you should use the paintbrush to paint the sections where you’ll be drawing. You can choose any color that you’d like.
2.Next, grab your pencil and draw your chosen design onto the helmet. Of course, you can’t do this while the paint is wet, so you’ll need to allow it to dry first.
3.Once the old layer of paint is dry and you have stenciled in your design, you can then start to add the layers of paint to it.
4.Once you have let the paint dry, using a marker instead of the pencil this time, trace the outline of your design to make it bolder/make it stand out.
5.Enjoy your newly designed helmet.
Frequently Asked Questions
Is It Okay To Put Stickers On A Motorcycle Helmet
Yes, it’s perfectly fine to do this, and it’s also a great way to personalize your helmet. You can also get reflective stickers which I love because they also act to increase your visibility on the roads.
Can I Remove The DOT Sticker From My Helmet
You must have an internal certification or sticker if you don’t want to get fined. However, you can now remove the approval certificate sticker that is on the outside of your helmet.
So you won’t have to worry about an eyesore on your newly designed helmet, just be super sure that you’ve got the internal one though because you do need it by law.
How Do I Remove Branding From A Helmet?
If you want to do this, you’ll need a soft cloth. Dampen this with either mineral, vegetable, or baby oil, rubbing alcohol, or an adhesive remover.
Then rub the cloth over the adhesive on the helmet and keep rubbing until the adhesive is removed. This may require some patience, but don’t worry it will come off eventually.
What Kind Of Paint Do I Use On My Motorcycle Helmet?
I would always recommend using either spray paint or acrylic paint for your helmet. My personal favorite is spray paint because I think it gives a great urban/graffiti look that makes the helmet look incredibly cool.
Final Thoughts
Please never decide to ride without a helmet just because they don’t look good. It’s such a risk to your safety for such a superficial reason.
And while it may look uncool to wear a standard helmet while riding, it’s a better option than dying in a collision.
Now that may seem a little harsh, but the reality of the situation is also harsh – approximately 41% of motorcycle drivers who die in accidents are not wearing helmets. So, just put your helmet on.
If you really don’t like the boring style, you can always paint and customize your helmet to look a lot better!
There are easy ways for you to do it for those who aren’t really artistically inclined, and there are also more advanced methods for all you Picasso’s out there. 3 You can also buy decals and stickers online if you would prefer those.
And if you’re strapped for time there are even motorcycle helmet painting services out there so if you can spare the money it costs, you don’t even have to do it yourself!


