
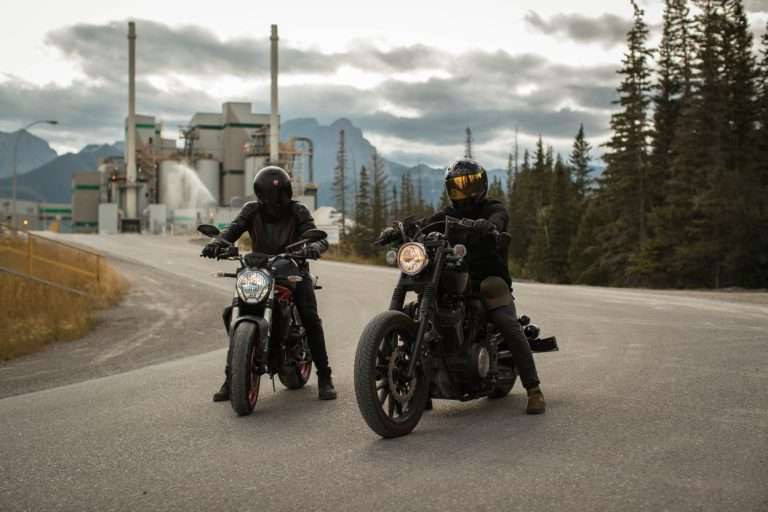
A motorbike is not only a vehicle; it’s a passion, lifestyle, and art form of life. These loveable things deserve care and perfect maintenance for their beauty and prolonging life.
We all want our motorcycles to look nice and last longer. For that, we have to do proper maintenance. Cleaning is one of them. Proper cleaning can save a lot of money because it keeps the chips or parts good and does not need to buy new parts.
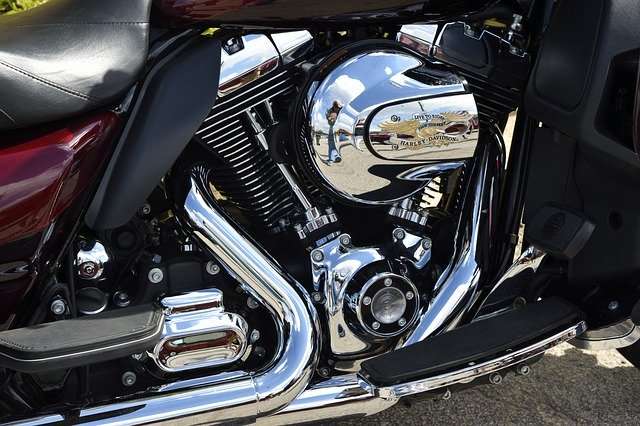
Cleaning the motorcycle engine will be a great DIY project for you. Though your motorcycle gets a water wash after a specific time, it requires a deep clean after a time or annually.
However, cleaning means spraying water and using cleaning solutions, but it has a proper way, and a wrong way can harm rather than good.
Here is the right way to clean a motorcycle engine below-
Cool down the engine first.
Do not start cleaning with water just after a ride; it can cause huge damage to your engine. Water spraying in a hot metal engine can cause a thermal shock so avoid the risk or damage. Wait for some time until your motorcycle engine is totally at an average temperature.
Prepare your motorcycle for cleaning.

Keep your motorcycle in a proper place from where the cleaning work can be done properly. Your garage may be suitable for this. After spraying, if the water rolls and drains quickly, you have to keep an eye on it.
Another thing that can make your mood worse in the middle of work is not getting the right device at hand at the right time. So gather tools and elements before starting the job. Here are some tools and supplies lists that will be needed for your DIY cleaning project.
- Air compressor
- Air gun blow nozzle and hose
- Soft bristle brushes
- Bucket
- Extension cord
- Garden hose spray nozzle
- Microfiber towels
- Microfiber wash mitt
- Power blower
- Power washer
- Soft terry cloth Rags
Secure and Remove the sensitive parts of your bike
Removing sensitive parts would be wiser than the covering option. There are some items in bikes that water can destroy for them. Leather casting, foam seat, air filter, saddlebags, and bike straps can be possibly removed. Secure battery and all sensitive electrical connections and prevent water excess into the exhaust system by any plug or hole on the exhaust line.
Spray out the dust
After securing the sensitive parts, you can use the compressed air spray to blow out the mud, dust, and dirt. Before using the pressure washer, try to clean the bike’s dust as much as possible.
Use the pressure washer.
Park your motorcycle on stands so that the wheels can be off the ground. Use a garden hose spray nozzle thoroughly with clean water for cleaning the grime, mud, and dirt of the body. Make sure the whole bike is entirely soaked.
Do not expect the bike will be cleaned just using the pressure washer, it will only soak and remove the bad particles of grimes and mud from the bike.
Rinse and Scrub Hard
Take warm soapy water in a bucket. Use a cleaning solution and scrub with a sponge or soft bristle brush to clean stubborn pieces of mud and oil stains or other residual build-ups. Soapy warm water and a sponge will help to remove the grime easily. When the scrub the engine is complete, rinse the engine again.
Clean the wheels, chain, and sprockets using the brush. Make sure every single grime is cleaned, and the motorcycle is sparkling clean.
Be gentle when you are scrubbing with the painted area of your bike. When you scrub the painted area, try to rinse the wash mitt often. Be careful of the dark paint area and avoid hard circular scrub.
Dry the Motorcycle
Your bike is spotless, and it’s time to dry the surface of the bike. You can use compressed air to blow off the water on the bike engine, which is hard to reach with a towel. Wipe off the water by using microfiber towels, cotton, or cloth.
Make sure there is no hidden water in the engine. If you leave it with moisture, it can cause rusting mildew. When you are done with drying, then take time for a while.
Remove Plastic and Tape
Remove all the plastic bags or the tape that you have to cover the battery, sensitive electronic connections for security purposes. Do it nicely and make sure you’re not making any mistakes with the sensitive connections.
Remove the plastic bags and masking tape that you used to cover the sensitive electronic components and parts of your motorcycle engine.
Use Metal Polish Cream and preserve removed parts
Polish will make your bike more shiny and good-looking, so do it with a separate cloth and specific polish cream. Washing a motorcycle will always keep it clean, but a lot of washing can damage the metal like rust and look old. So use metal polish cream to keep your engine nice and always new.
After completing the proper waxing and polishing, it’s time to replace all the parts you have removed earlier (leather casting, foam seat, air filter, saddlebags, and bike straps) for security purposes.
Start the engine
After finishing all the work, it’s time to start the engine to check. Turn on the engine and examine everything perfectly and then run for a few minutes. If you feel that your motorbike is completely ok, then turn off the engine.
Lubricate the Chain
Now your bike is free from all the grimes, and your bike is ready for riding. It’s time to lubricate the chain. Make sure the chain is lubricated after a cleaning process.
Now your motorcycle is ready for the ride. Enjoy your ride with a clean bike.
