
Most of the time, people ride their motorcycles often but do not clean them often. This poses a risk because if you leave your bike sitting for a long time without cleaning, then some components and parts are at risk of getting wet, rusted, and dirty.
However, no user manual has instructions for cleaning out your motorcycle gas tank, which is why a lot of people avoid it.
So, we are here to help! In this article, we will tell you all you need to know about cleaning out a motorcycle gas task, and more. So, if this is of interest to you, then read on!
Is Cleaning The Motorcycle Gas Tank Better Than Replacing It?
Of course, replacing the motorcycle gas tank is always an option, but before you invest in a brand new one, you should give cleaning the one you already have a try!
Dirt and rust pose a risk to your fuel which is something to avoid at all costs. Now, if this has happened and your tank is damaged beyond repair, then, of course, you should get it replaced.
However, if you notice only mild dirt and corrosion, then it should be easy enough to clean.
Assessing The Situation
So, as previously mentioned, you will need to assess the condition of your motorcycle gas tank before you do anything. You may find it is too dirty, rusty, or damaged to clean.
Once you assess the situation and find out your motorcycle model (to determine how difficult the gas tank will be to replace), you can go ahead and begin cleaning.
The Level Of Rust
If you decide you can clean your gas tank and need to remove rust, then there are a few different methods you can choose between.
The first is manual treatment. You will need an abrasive material to be able to remove heavy deposits of rust.
Place plenty of small nuts and bolts inside your tank and shake them around to strip away the build-up of scale. This is effective if you have low levels of rust, and you may need to try a different method if there is a lot of rust in the gas tank.
The next method is a chemical treatment. First, you will need a mild acid. One great example of this is vinegar.
Vinegar can eat the rust from inside the task. However, you need to ensure that the acid you use is mild, or else it may damage the gas tank itself.
For this method, you need to combine the vinegar with the nuts and bolts and shake the gas tank to remove scale build-up.
How To Clean Out A Motorcycle Gas Tank
Here’s exactly how you should clean out your motorcycle gas tank!

Prepare The Gas Tank
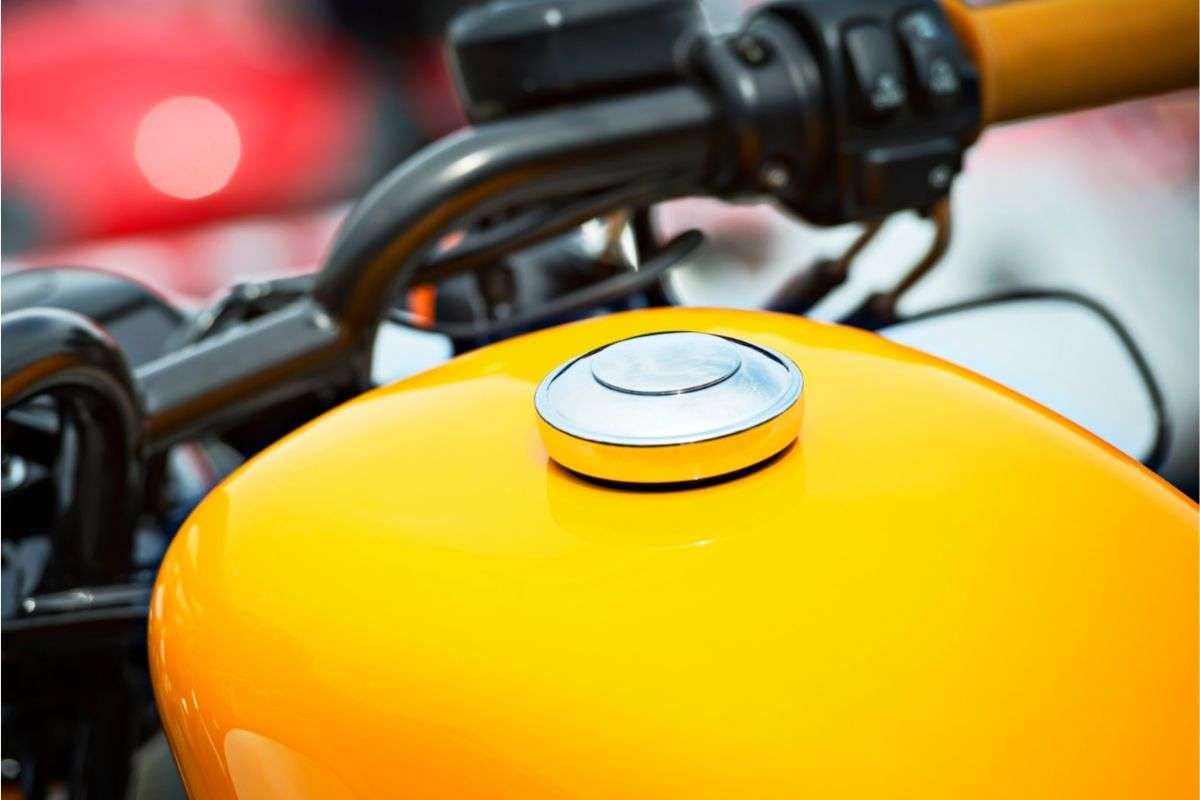
The first thing you need to do is prepare your gas tank before you begin the cleaning process. First, you will need to remove the tank.
You can do this by draining any excess fuel and then unhooking the vacuum and gas lines. Remove any fuel valves your bike may have.
You will also need to disconnect any lines and sensors from the tank, on top of the bolts that hold it together.
Now, you will need to block the fuel tank. The best way to do this is to cover the openings with a short-length hose.
Then, you will need to use heavy clamps to block off the hoses’ ends, making sure everything is secure and tight.
It is also important to note that this task should be completed in an open or well-ventilated space, as it is safer for you to have good air circulation.
Test The Agitator
Testing the agitator is our next step. First, you will need to place some test pieces of the agitating substances into a glass or ceramic bowl, making sure the acid does not have an unwanted reaction.
This is especially important to do if you are using anything other than vinegar, as it is best to not damage your tank or poison yourself.
Add The Acid
Now, you need to add vinegar. Household vinegar will need to sit in your gas tank for a few days to work properly and may likely need to be topped up.
However, it is acidic enough to deal with most problems in a dirty gas tank.
However, if it is not, then you can use phosphoric or muriatic acid instead. The acids require no sitting time, so you need to do the next part quickly.
Add The Agitator
Now, you can go ahead and add the nuts, bolts, or other abrasive tools to the gas tank. However, you should not add too many as the fewer there are, the more they can move around.
Shake It Up
Now, you will need to shake the tank. It is best to use both hands for this task and repeat as necessary. After shaking, you should check inside the tank and decide whether or not you need to top it up or leave it as it is.
Please note that while vinegar can be left, more abrasive acids will need to be removed quickly because they can damage the tank.
Remove The Materials
Once you have determined everything is clean, you will need to remove the agitators and flush away the acid.
First, you will need to head up a pot of water, around five gallons will do.
Use a garden hose to remove all of the acids, and then shake the gas tank with the water inside. Now, use dish soap to act as a neutralizer for the acid on top of the heated water.
Empty the tank and then allow air to flow through it via a heat gun or blow dryer. Use low heat and keep the tool moving quickly to avoid flash rust.
Use A Sealer To Finish
Now, you will need to use a sealer to finish off the process.
Place a little kerosene in the tank, provided you will be reinstalling it right away, and seal it with a fuel-soluble sealer. Shake the tank to make sure the interior is coated.
If you are putting the tank on the shelf, then you can use a thicker sealer, like motor oil.
Final Thoughts
Cleaning your motorcycle gas tank can feel like a daunting task, but if you follow the steps correctly you will do it in no time!
Just remember to do this tank in an open space and to test your products, like any acid you may use, beforehand, so you do not risk damage to yourself or your bike.
Learning how to maintain your motorcycle and how to clean out a motorcycle gas tank is essential in keeping your motorcycle in a good condition.