
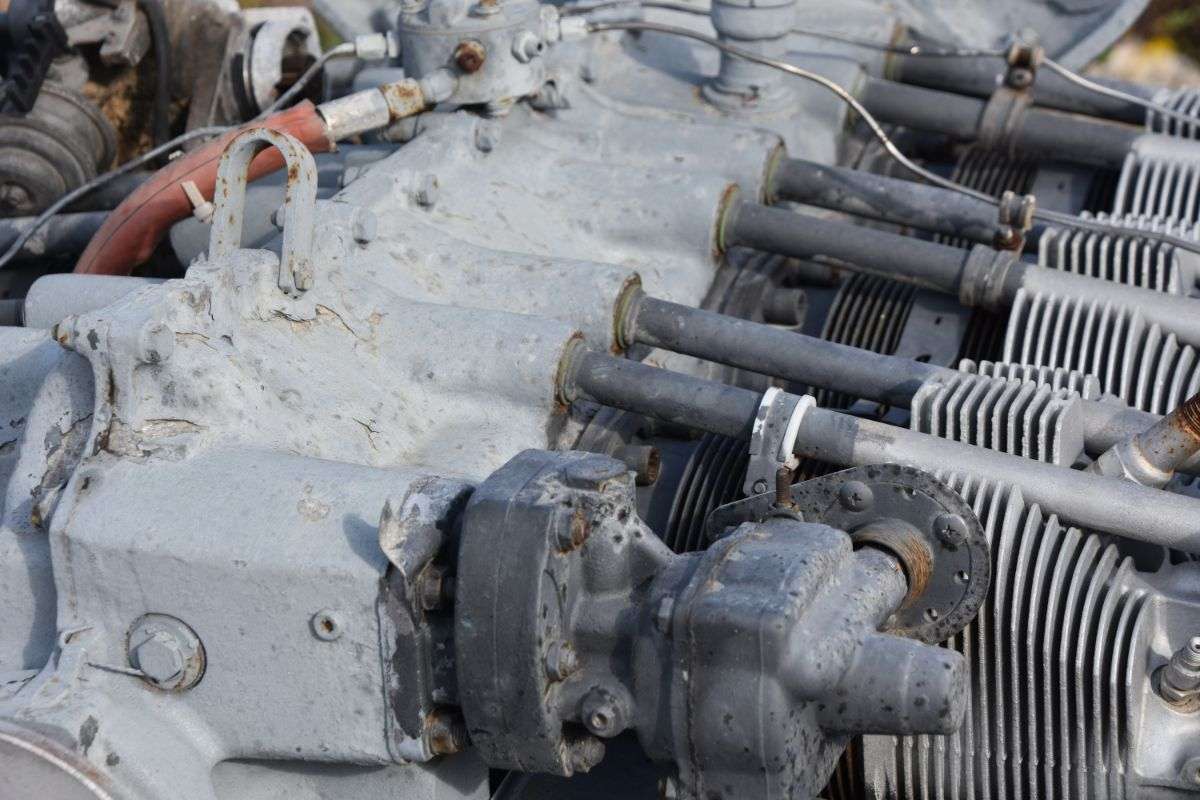
Car carburetors may accumulate a considerable amount of dust, filth, debris, grime, and oil over time.
This could result in jams or blockages that restrict the required combination of gas and airflow from entering the engine, causing the automobile to stall.
Less serious reactions include slow performance and accelerating rates, decreased mileage, and overheating.
When you are driving a diesel, you might also notice the black smoke coming from the tail pipe.
These are all scenarios that you as a car owner would like to prevent, and in order to do so, you must understand how to maintain a carburetor and how to clean a carburetor without removing it.
While hiring a professional is a choice, it is not always the best and most cost-effective or time-saving alternative.
As a result, it is preferable for you to train on cleaning the carburetor without having to remove it yourself at home.
Recognizing this need, we have prepared an article that contains all the required information and actions that you must be informed.
In a nutshell, here’s how to clean a carburetor without lifting it:
- Set the car on safety gear, turn off the motor, and detach the air filter box, as well as any tubes and connections and the bottom bowl.
- Using a mobile or wireless vac, remove any dirt particles, dust, detritus, filth, or grease from the top.
- Put some rags or towels near the carburetor’s bottom to capture leakage and preserve the surface areas.
- Add fine, uniform coatings of the carburetor and choke cleaner. Afterward, let it “rest” and do its thing.
- Clean the grime as well as the cleaning solution away with a microfiber cloth and scrub the most persistent parts with a scrubbing brush or a bristle brush.
- Clean up the carburetor with a clean, dry cloth and double-check that it is totally dry.
- To run a check on the engine, discard the rags or towels at the bottom of the carburetor as well as any other items you have used.
- Restore the air filter box, bottom bowl, tubes, and connectors to their respective places.
What You’ll Need To Prepare?
Collect all the necessary supplies prior to actually starting to clean a carburetor without removing it:
- A set of protective goggles
- A set of safety gloves
- Hand tools for loosening bolts and nuts
- A couple of towels or toilet paper
- A portable and underarm vacuum
- A few cloths/towels that are thickish
- Cleaning solution for carburetors
- A pair of microfiber towels
- A scrubbing brush or a sturdy brush
Whilst the majority of the products on this list are not difficult to pick, you should be particularly cautious when selecting the carburetor cleaning solution.
This is also known as a carburetor cleaner and a choke cleaner.
Before making a purchase, consider numerous criteria, such as composition, suitability, ease of use, branding, and pricing.
All of these criteria should be met by your preferred product.
If you have it all and are ready to continue, proceed to the following section, which lists and elaborates on the essential actions.
The 8 Easy Steps To Clean A Carburetor
Step 1
Set the car on safety gear, turn off the motor, and detach the air filter box, as well as any tubes and connections and the bottom bowl.
First and foremost, wear a pair of protective gloves and goggles.
Put on a face mask and turn off the engine.
Make sure the spark plug is securely disengaged.
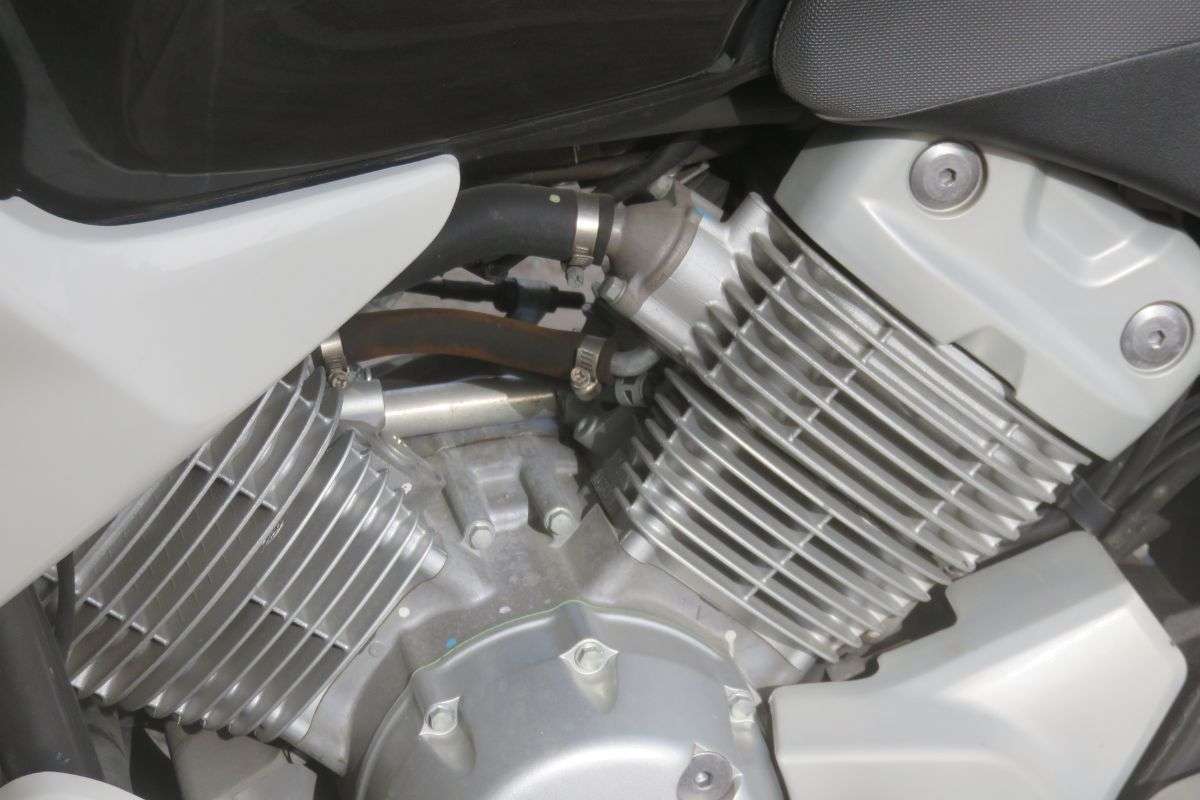
Find the air filter and its container after that. To get to the carburetor, take it out.
You might need to disconnect all of the neighboring tubes and connectors.
Should you need to undo any bolts or nuts, use screwdrivers.
Remove the bowl from the bottom of the carburetor as well.
Pro Tip: It is critical at this moment to verify that the petcock is shut or else the gas will escape.
To catch any gas drops, place a couple of tablecloths or hand towels around the bottom of the carburetor. Wipe away any leftovers.
Once you’ve cleared a path to the dirty automobile carburetor, proceed to the following step.
Step 2
Using a mobile or wireless vac, remove any dirt particles, dust, detritus, filth, or grease from the top.
To eliminate dirt, use a tiny, portable, powered vacuum.
Adjust the vacuum to a low-to-moderate level and gently pass it through the container.
Do not rush, but rather be meticulous.
The better you perform this process, the less effort you’ll have to put in afterward.
Step 3
Put some rags or towels near the carburetor’s bottom to capture leakage and preserve the surface areas.
Substitute a layer of somewhat stronger towels or tablecloths for the napkin.
This will capture any leakage and keep it from harming structures, particularly those that are painted.
Step 4
Add fine, uniform coatings of the carburetor and choke cleaner.
Afterward, let it “rest” and do its thing.
Next, get your carburetor and choke cleaner ready.
To clean the outboard carburetor without lifting it, correctly grab it and keep it about 1⁄2 a palm’s length from the outside screen.
Giving it a thorough shake, place your fingertip on the tip pressing down to spray.
Create a thin and even coating, paying special attention to the secondary, movable tubes and linkages, notably the throttle area connection.
Allow the cleaning solution to do its job. Hang tight! It will take a couple of minutes.
Step 5
Clean the grime as well as the cleaning solution away with a microfiber cloth and scrub the most persistent parts with a scrubbing brush or a bristle brush.
If there are any firm buildups or goops, brush them off with a scrubbing brush.
Step 6
Clean up the carburetor with a clean, dry cloth and double-check that it is totally dry.
Check for any remaining surplus dampness.
Allow it to dry for at least 1 hour. The requirement for evaluation is that it is not a moist area any longer.
Step 7
To run a check on the engine, discard the rags or towels at the bottom of the carburetor as well as any other items you have used.
Remove anything you used to clean the carburetor and put it on the side.
Then, start the engine to see how it performs.
If the outcomes are better than before you started cleaning, you’re set to go!
Step 8
Restore the air filter box, bottom bowl, tubes, and connectors to their respective places.
To finish up, replace the air filter box and reconnect anything you unplugged in the very first phase.
Summary
If you follow these steps, you can easily learn how to clean a carburetor without removing it.
However, know that it is quite common to perform steps 3 and 4 times to see the desired results.
Therefore, continue perfecting each step till the carburetor is clean and you’re good to go!
