
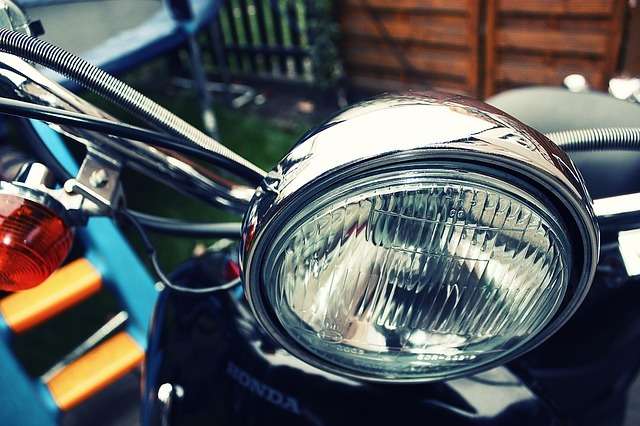
Motorcycle headlights are crucial components to every rider. As important as they are, failure to adjust them properly may mean fatal accidents to the rider. That is why every motorcycle rider should get helpful information on how to adjust motorcycle headlights. When driving on areas with no street lights, headlights are your only source of light when riding at night. These important elements can change their location under various circumstances. That is why you need to know how you can adjust them safely and quickly. Read on for more!
What you need
- A pencil
- A screwdriver,
- Your bikes service manual
- Masking tape
- A tape measure
- A carpenter’s level
Step 1: use the bikes service manual
Before you get down to adjusting the headlights, it’s good to take a look at the manual. The reason is that there are the headlights that use adjusters in the form of knobs. Others need screws instead. Also, some adjusters are easy to access while other located in hidden places. With such adjusters, a long screwdriver is what you need. With the manual, regardless of the type of adjuster, you will find the right information on how to make the adjustments.
Step 2: look for an even ground
Find an even ground, preferably close to a wall that is painted with bright colors. A brightly colored garage door can also work. After that, make 25 feet adjustments from the wall. Make sure the ground is even between these two points. Once you measure, mark the exact place with masking tape. After marking, measure the adjustments and place the bike’s front wheel on that spot marked with masking tape.
Step 3: Measure the height
Take the measurements of the height from the surface to the middle of the motorcycle’s headlights. Mark the height on the wall with a pencil, to represent the height of these headlights. After that, take a carpenter’s level and make a straight line that cuts through the mark you made with a pencil. Then, align the upper side of the tape with that line. After that, make one more mark that is two inches less. After you do that, make a straight level line and bring it to the top side of the masking tape mark with the second line. This point will act as your reference point on the low beam.
Step 4: Sit on the motorcycle to make the adjustments now
Sit on the bike; hold it straight making sure that the lights face forward. Also, the front tire should rest on the mark you made using masking tape. Also, ensure that the uppercut line of the low beam is in line with the bottom piece of the marking tape. On the other hand, the upper beam needs to go in line with the upper part of the tape. In case you notice that the beams are not lined up well on the tape lines, turn the adjusters. By checking on the manual, you will see how to adjust until these beams are in the right position.
Step 5: Test ride the bike
Once you make these adjustments, ride the bike on rough terrains that can push the adjustments out of the way. Bring back the bike to the previous place, position the front wheel on the mark again and test its lights once again. If they are still at the center, you are good to go. If they moved slightly, re-adjust again until you get it right. If the lights move completely, the adjuster may be faulty and may need repairs.
There you have it! Why should you ride with bad lights when you can easily adjust them for safer rides? Just make good use of this blog and you will enjoy a safe and comfortable ride at night!
We’re listening from you. ..
Have something to say about this article? Don’t forget to read our related guide’s:
